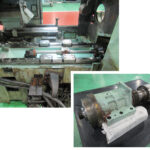
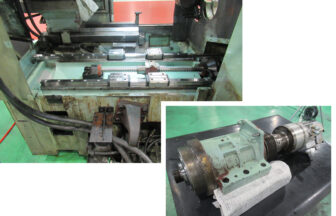
A 1996 horizontal machining center manufactured by a certain O company in the company was overhauled because the machine accuracy had deteriorated after 25 years.
- Confirmation of current machine level
- Survey of current accuracy of each axis
- Check the current sliding surfaces of X, Y, and Z axes
- Ball screw inspection
- Check for other defects
- Z-axis back plate rubbing
- Z-axis razor adjustment
- Straightness, parallelism, and level adjustment of each axis
- Final assembly accuracy inspection
- Operation check, accuracy check


